Connection Profiles
This guide will walk you through the steps to configure your site, create a connection profile, and enable embedding Power BI reports into your application. By the end of this guide, your application will be ready to embed power bi reports seamlessly.
Prerequisites
Before you begin, ensure the following:
- You have an active Azure account.
- You have Power BI service enabled within your Azure tenant.
- You have administrative permissions to configure Azure App Registrations and Power BI tenant settings.
Step 1: Create an Azure App Registration
To enable your application to communicate with Power BI, you need to register an app in Azure.
- Log in to the Azure Portal.
- Navigate to Microsoft Entra Id > App registrations.
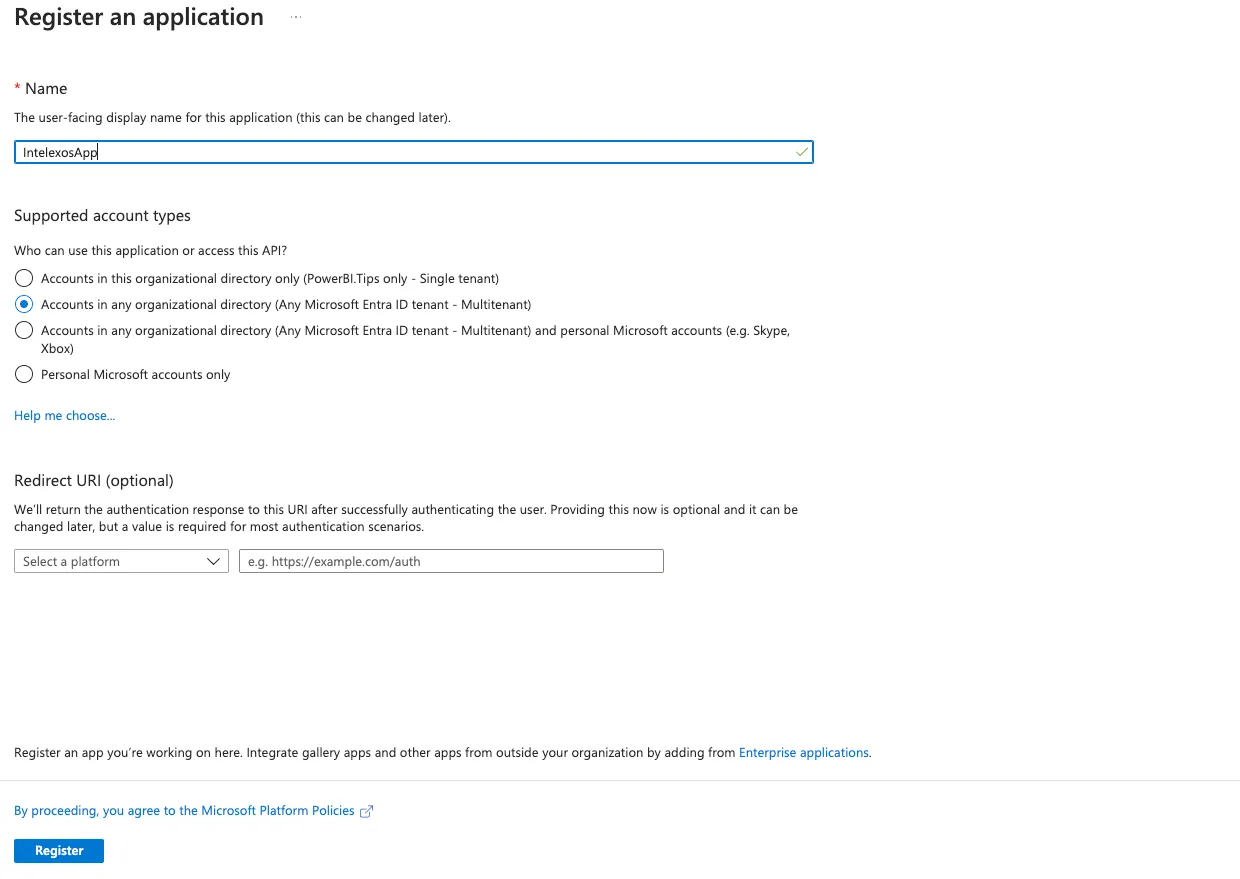
- Click New registration.
- Fill out the registration form:
- Name: Enter a name for your application (e.g., “IntelexosApp”).
- Supported account types: Select Accounts in any organizational directory.
- Redirect URI: This can be left blank.
- Click Register.
Create a Client Secret
- Navigate to Certificates & secrets > New client secret.
- Add a description and set an expiration period.
- Copy the secret value and store it securely; you’ll need it later.
Placeholder for Image: Certificates & secrets screen
Gather information for Intelexos Setup
In order to configure the connection profile in Intelexos, you’ll need the following information:
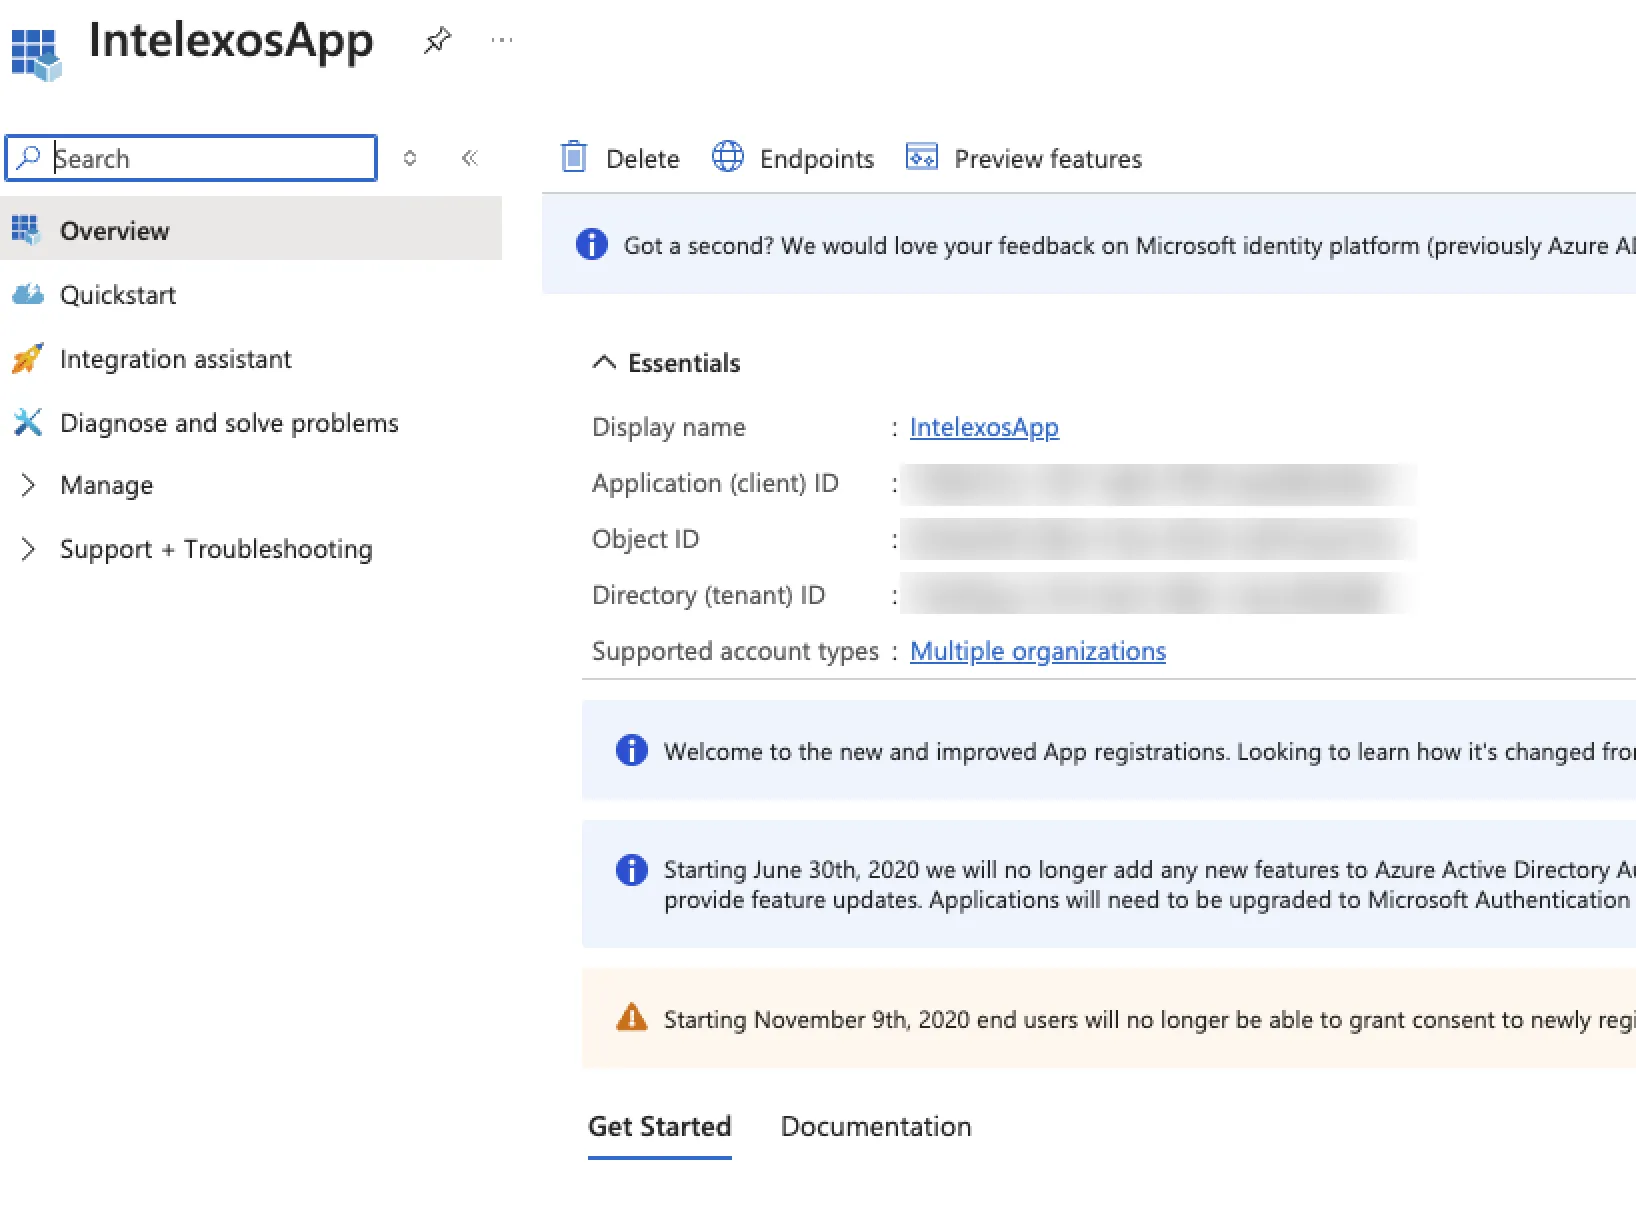
- Client ID: This is the application ID from the app registration overview.
- Client Secret: The secret you created in the previous step.
- Tenant ID: This is the Azure tenant ID, which can be found in the Azure Active Directory overview.
Both the Client Id and the Tenant Id can be obtained from the app registration overview page:
Step 2: Configure Power BI Tenant Settings
Ensure your tenant settings allow service principals to access Power BI APIs and use Profiles.
- Log in to the Power BI Admin Portal.
- Navigate to Tenant settings.
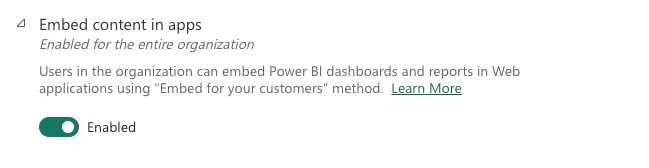
- Under Developer settings, locate Embed content in apps. Ensure this setting is enabled.
Note: We recommend creating a security group for this purpose to manage access more effectively and then limiting this setting to the specific group.
- Under Developer settings, locate Allow service principals to use Fabric APIs.
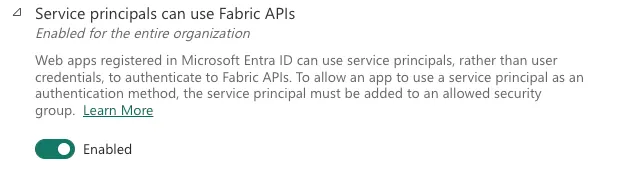
- Enable this setting and specify the security group that contains your app registration.
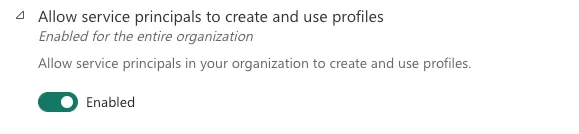
- Locate Allow service principals to use Profiles and enable this option as well.
- Save your changes.
Placeholder for Image: Power BI Tenant Settings
Step 3: Create a Connection Profile in Intelexos
Once your Azure app registration is configured, you can create a connection profile in Intelexos.
-
Log in to the Intelexos admin portal.
-
Navigate to Settings > Connection Profiles.
-
Click New Connection Profile.
-
Fill in the required fields:
- Name: Enter a name for the profile.
- Client ID: Paste the client ID from your Azure app registration.
- Client Secret: Paste the client secret created earlier.
- Tenant ID: Enter your Azure tenant ID.
-
Create the service principal for your application if not already created. This service principal is essential for securely interacting with Power BI APIs.
-
Once the service principal is set up, create a profile in Intelexos with the following steps:
- Provide a Name and Description for the profile.
- Click Save.
This profile will be used when adding reports to the application.
Placeholder for Image: Intelexos Connection Profile form
Step 4: Configure a Report
Once the connection profile is set up, you can create and configure a report to embed in Intelexos.
- Navigate to the Reports section in the Intelexos admin portal.
- Click Create New Report.
- In the dialog that appears, select the Connection Profile you want to use.
- Choose the Power BI workspace where the report you want to embed is located.
- Select the specific item you want to embed:
- Switch between All Items, Reports, Paginated Reports, or Datasets to find the desired resource.
- Embedding Reports or Paginated Reports allows users to view the report directly in Intelexos.
- Embedding Datasets enables you to explore tables of data within the application.
- Click Save to finalize the configuration.
Placeholder for Image: Report Configuration dialog
Next Steps
Now that your Intelexos setup is complete, you can start embedding Power BI reports into your application. Explore the following resources for more advanced configurations:
If you encounter any issues, refer to our Support Documentation or contact our support team.
Thank you for choosing Intelexos!